 Pin it
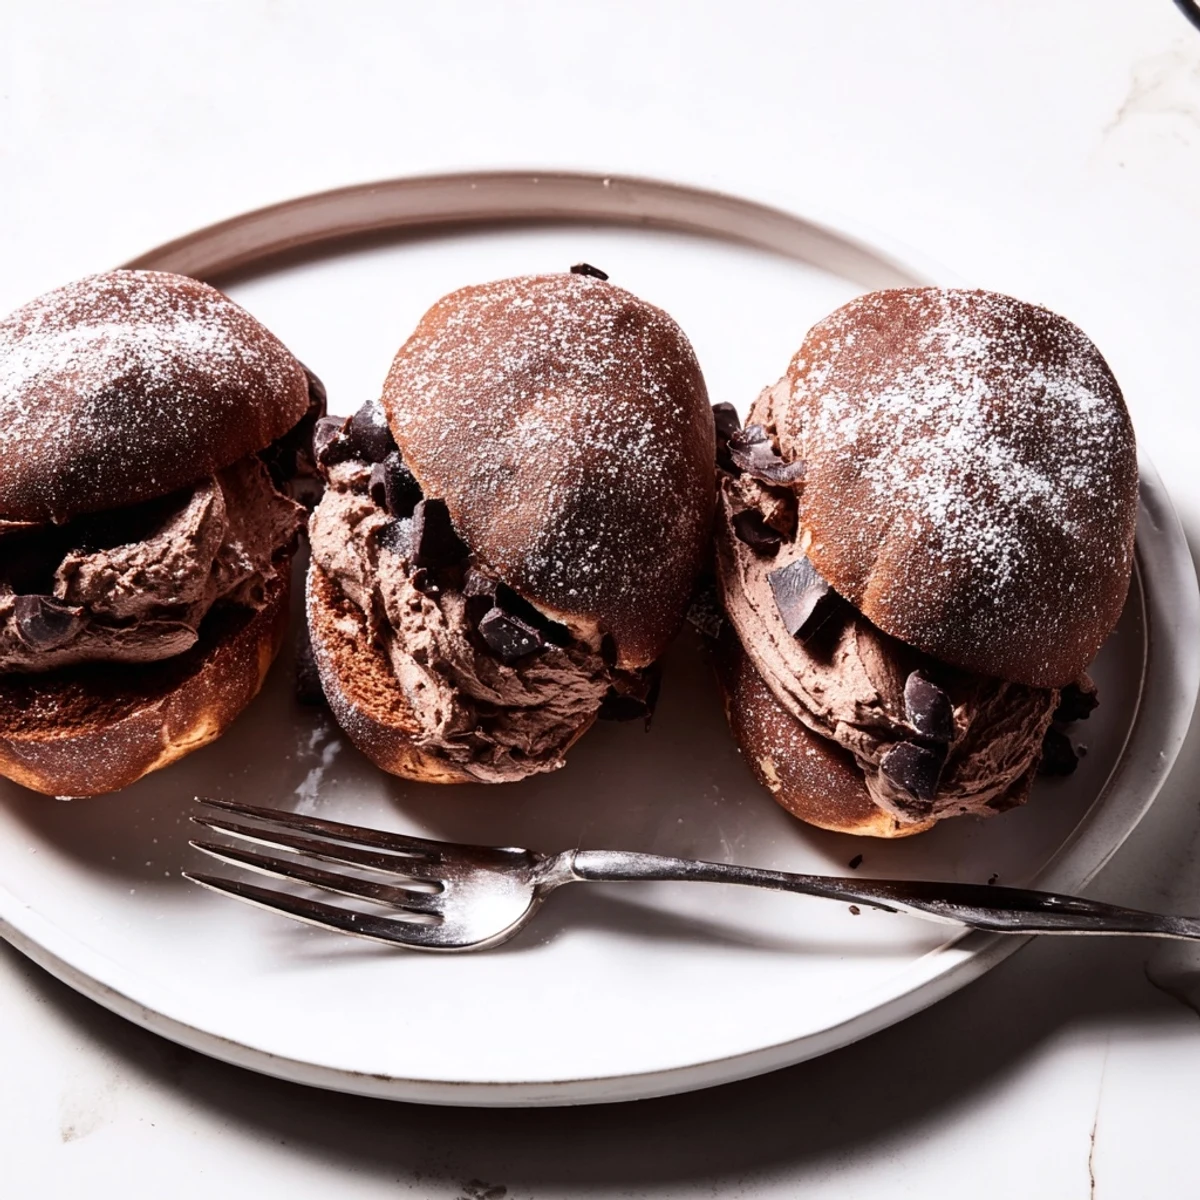
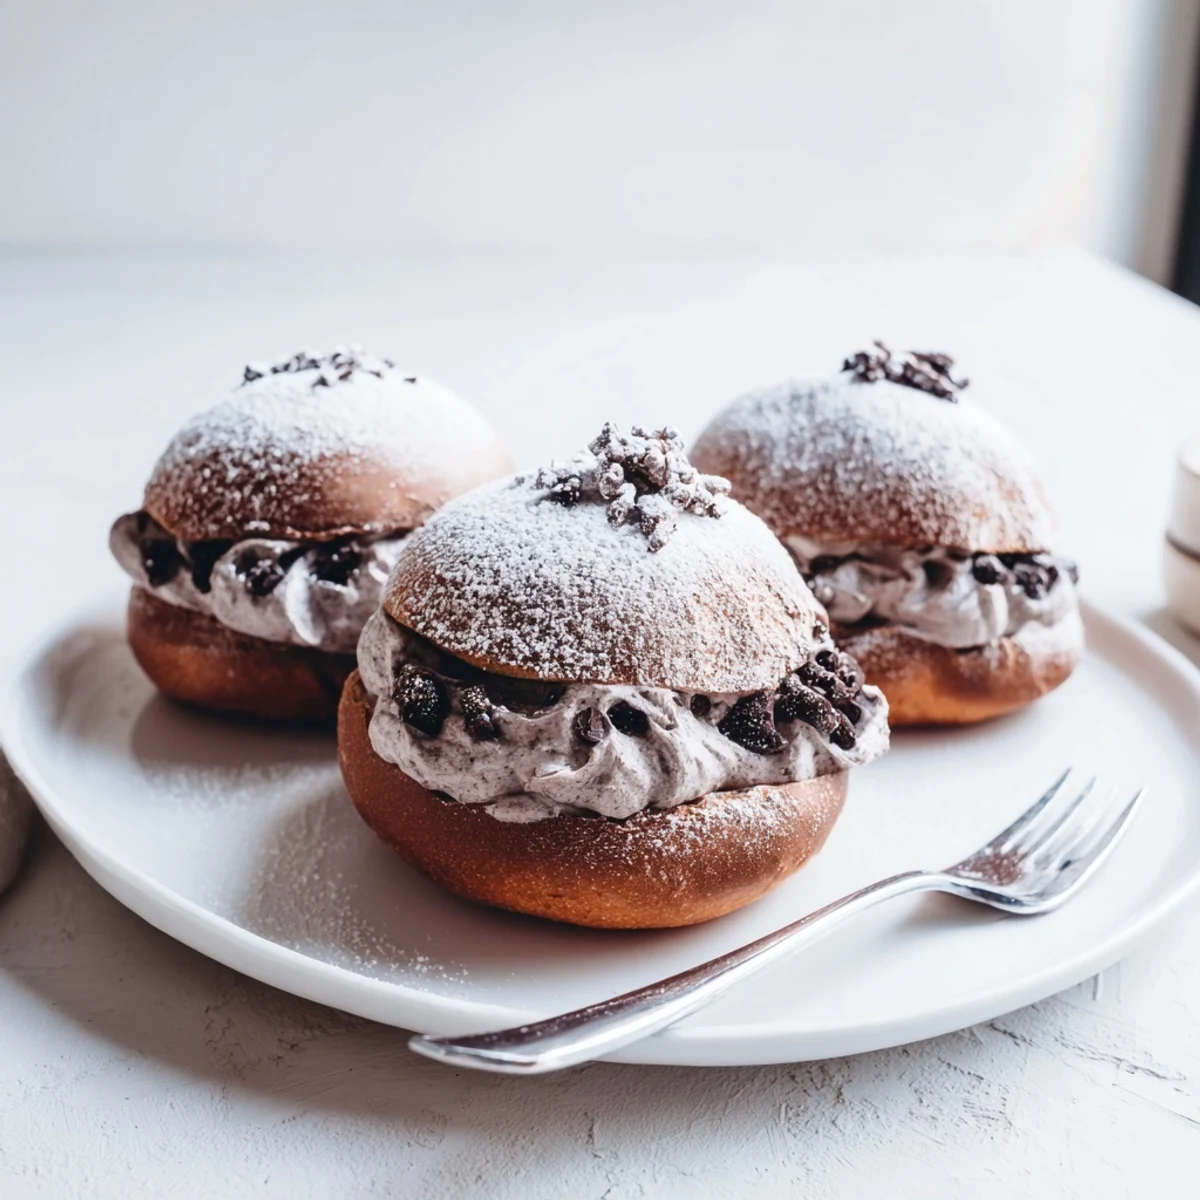
 These Italian chocolate maritozzi are soft, sweet cocoa buns enriched with chopped dark chocolate, then generously filled with a luscious chocolate whipped cream.
Rooted in Roman pastry tradition, they require just 25 minutes of prep and 18 minutes in the oven, though you'll need patience for the dough to rise. The result is an indulgent, bakery-worthy treat perfect for weekend mornings or special occasions.
There is something almost theatrical about pulling a tray of chocolate maritozzi from the oven, their glossy brown domes smelling like the inside of a Roman pastry shop at dawn. My first attempt was a disaster of sticky dough plastered to my hands and flour dusted across every surface of the kitchen, but even those lopsided buns convinced me this recipe was worth mastering. The contrast between the soft cocoa enriched bun and the cloud of chocolate whipped cream tucked inside is the kind of indulgence that makes you close your eyes at first bite. These are the buns I now make when gray weekends call for something extravagantly comforting.
I made a batch of these for my sister the morning after she landed from a red eye flight, still rumpled and running on three hours of sleep. She sat at the kitchen counter with espresso in one hand and a maritozzo in the other, powdered sugar on her chin, and declared it the best thing I had ever baked. The kitchen was still a mess of cocoa dusted bowls and she did not care one bit.
Ingredients
- For the dough 350 g all purpose flour: Use a good quality flour with enough protein to give structure but not make the buns tough.
- 40 g unsweetened cocoa powder: This is what gives the buns their deep color and a subtle bitterness that balances the sweet filling.
- 120 ml whole milk lukewarm: Should feel like warm bath water, not hot, or it will kill the yeast before the dough even starts.
- 60 g granulated sugar: Just enough sweetness in the dough to complement the chocolate without overpowering it.
- 7 g active dry yeast: Fresh yeast makes all the difference here so check the expiration date before starting.
- 1 large egg: Adds richness and helps bind the dough together for that pillowy texture.
- 40 g unsalted butter softened: Let it come to room temperature naturally so it incorporates smoothly without leaving greasy streaks.
- 1/2 tsp vanilla extract: A quiet background note that rounds out the chocolate flavor beautifully.
- 1/2 tsp salt: Do not skip this, it wakes up every other flavor in the dough.
- 60 g dark chocolate chopped: Folded in at the end, these little pockets of melted chocolate are a wonderful surprise inside each bun.
- For the filling 300 ml heavy whipping cream: Cold cream whips faster and holds its shape better, so keep it in the fridge until the last moment.
- 70 g dark chocolate melted and cooled: Let it cool completely before folding in or it will deflate the whipped cream instantly.
- 30 g powdered sugar: Adds just enough sweetness to the filling without making it cloying.
- 1 tsp vanilla extract: Echoes the vanilla in the dough and ties the whole pastry together.
- For brushing 1 egg yolk with 2 tbsp milk: This egg wash creates that beautiful satiny shine on top of each bun.
Instructions
- Wake up the yeast:
- Stir the yeast and a spoonful of sugar into the lukewarm milk and let it sit undisturbed for about ten minutes until it bubbles and froths like a tiny science experiment on your counter.
- Build the dry base:
- Whisk together the flour, cocoa powder, remaining sugar, and salt in a large bowl until the color is uniform with no pale streaks hiding in the corners.
- Bring it all together:
- Create a well in the center and drop in the egg, vanilla, softened butter, and the foamy yeast mixture, then stir with a wooden spoon until you have a shaggy cohesive mass.
- Knead with patience:
- Work the dough by hand or with a mixer for eight to ten minutes until it transforms from sticky and rough into a smooth elastic ball, then fold in the chopped chocolate during the final minute.
- Let it rise:
- Transfer the dough to a clean bowl, cover it with a damp towel or plastic wrap, and leave it in a warm draft free spot for one to two hours until it has puffed up and doubled in size.
- Shape the buns:
- Gently deflate the dough and divide it into eight even pieces, rolling each into a plump oval and arranging them on a parchment lined baking tray with space between them to spread.
- The second rise:
- Cover the shaped buns loosely and let them rest for forty minutes while they puff up again and look soft and ready to bake.
- Prepare the oven and glaze:
- Preheat your oven to 180 degrees Celsius and whisk the egg yolk with two tablespoons of milk, then brush the mixture gently over each bun for that signature glossy finish.
- Bake:
- Slide the tray into the oven and bake for fifteen to eighteen minutes until the buns are set and slightly firm to the touch, then transfer them to a wire rack to cool completely before filling.
- Make the chocolate cream:
- Whip the cold heavy cream with powdered sugar and vanilla until it holds firm peaks, then gently fold in the cooled melted chocolate with a spatula until the color is streak free and silky.
- Fill and finish:
- Slice each cooled bun lengthwise leaving a hinge at the back, pipe or spoon a generous mound of chocolate cream into the opening, and dust with powdered sugar if you like before serving immediately.
 Pin it
 The moment these became more than just a weekend project was when I caught my partner standing at the counter at midnight eating the leftover chocolate cream straight from the bowl with a spoon.
Tools That Actually Help
A stand mixer with a dough hook saves your arms during the long knead but a wooden spoon and some determination work just as well if you are feeling rustic. A pastry brush with soft bristles is essential for the egg wash because a stiff brush can deflate the risen buns right before baking. Keep a serrated knife handy for slicing, as a dull blade will compress the delicate crumb instead of cutting through it cleanly.
Making It Your Own
Swap the dark chocolate in the filling for milk chocolate if you prefer a sweeter gentler flavor, or go the other direction and use an extra dark seventy percent bar for serious intensity. Sprinkling a few extra chocolate chips inside each bun before adding the cream creates a pleasant textural surprise. For a truly Roman experience, serve these alongside a short pulled espresso or a foamy cappuccino and pretend you are standing at a marble bar in a neighborhood pasticceria.
A Few Last Thoughts
These buns are best eaten the day they are made, when the contrast between the tender crumb and the freshly whipped cream is at its peak. If you need to prepare ahead, bake the buns a day in advance and make the filling just before serving so nothing gets soggy.
- Let the buns cool completely before slicing or the residual heat will melt the filling into a puddle.
- Refrigerate any leftover filled buns and eat them within a day, though honestly they rarely last that long.
- Remember that yeast is a living thing, so proof it first and trust the process even when the dough looks like it is doing nothing.
 Pin it
 Every batch teaches you something new about dough, about patience, and about how the simplest pleasures are usually the ones worth waiting for. These chocolate maritozzi are no exception.
Recipe FAQs
- → Can I make the dough the night before?
-
Yes. After kneading, place the dough in a covered bowl in the refrigerator for a slow overnight rise. Let it come to room temperature for about 30 minutes before shaping the buns.
- → Why did my maritozzi turn out dense?
-
Dense buns usually mean the yeast didn't activate properly or the dough didn't rise long enough. Ensure your milk is lukewarm — not hot — and give the dough full time to double in size before shaping.
- → Can I use milk chocolate instead of dark chocolate?
-
Absolutely. Milk chocolate will give the filling and dough a sweeter, milder flavor. Reduce the powdered sugar slightly if you prefer a less sweet result.
- → How should I store leftover maritozzi?
-
Store them in an airtight container in the refrigerator for up to 2 days. The cream filling requires refrigeration. Bring them to room temperature for about 15 minutes before serving for the best texture.
- → Can I freeze chocolate maritozzi?
-
It's best to freeze the baked buns unfilled. Wrap them tightly and freeze for up to 1 month. Thaw at room temperature, then fill fresh with the chocolate whipped cream before serving.
- → What type of cocoa powder works best?
-
Unsweetened natural cocoa powder gives the buns a deep, authentic chocolate flavor. Dutch-processed cocoa will also work but produces a milder, less intense taste.
