 Pin it
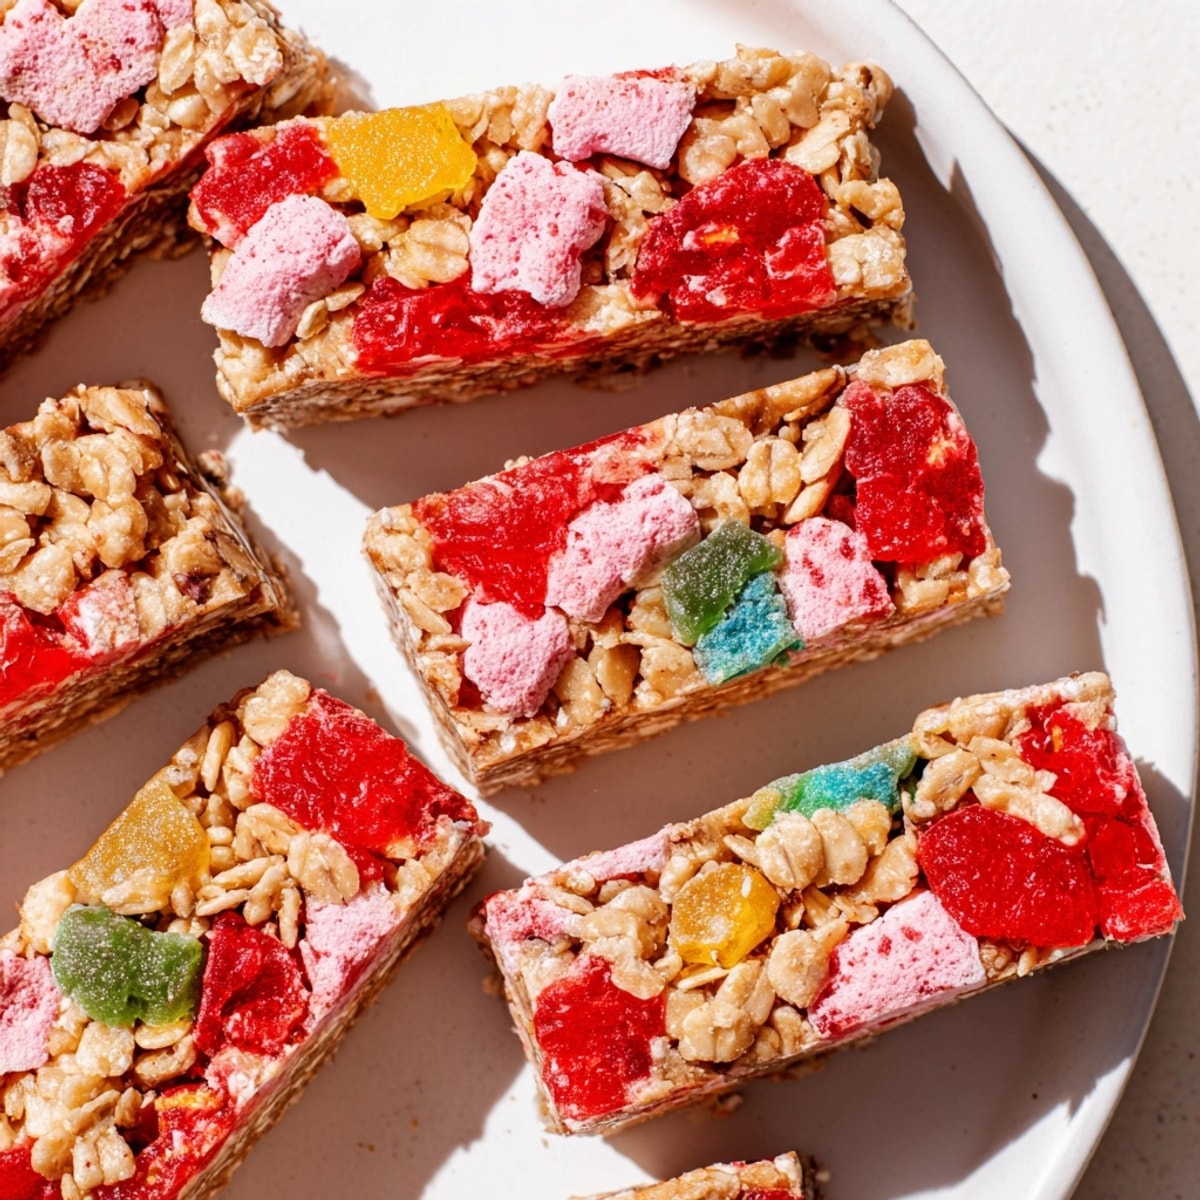
 Chewy oat bars get a playful twist with homemade fruit gummies and a crunchy layer of freeze-dried toppings. Wholesome rolled oats, almond or peanut butter, and honey create a sturdy base, while cubes of fresh gelatin gummies infuse fruity flavor and vibrant color. Crispy freeze-dried fruit and candy add fun texture. Refrigeration ensures each layer holds together perfectly. Swap nut butters for allergy-friendly options or try varied fruit juices for a rainbow effect. Slice and enjoy these adventurous snack bars packed with sweet, chewy, and crunchy bites.
DIY Snack Bars with Homemade Gummies and Crunchy Toppings are my latest obsession for snack time boredom. Every bite is an adventure with layers of creamy oat base, fruity gummy bursts, and a playful mix of colorful toppings. These bars have transformed after-school treats and road trip snacks in my house into moments of pure joy.
The first time I made these, my kids spent an hour planning their perfect topping combos and the whole kitchen smelled like summer camp. Now friends ask for them at every picnic.
Ingredients
- Rolled oats: Whole oats give structure and chew Be sure to use old-fashioned oats for best texture
- Almond butter or peanut butter: This creamy ingredient pulls everything together Natural butters with no added sugar work well
- Honey or maple syrup: Binds and sweetens the base Look for raw honey or pure maple syrup for richer flavor
- Unsalted butter melted: Adds tenderness and flavor Use high-quality butter if you can get it
- Vanilla extract: A small boost of warmth Real vanilla makes a big difference
- Pinch of salt: Brings all the ingredients into balance Use a fine sea salt if you have it
- Fruit juice: The backbone of your gummies Pick a juice with a bold flavor and natural color
- Unflavored gelatin: Gives gummies their signature bite Choose good quality powder without additives
- Honey or agave syrup: Naturally sweetens gummies Any light flavored syrup will work fine
- Freeze-dried fruit: For a tangy crunch and color Buy ones labeled unsweetened for most natural fruitiness
- Freeze-dried candy: For a fun, colorful twist Pick candies that will crunch and not get sticky
Instructions
- Prepare the Baking Pan:
- Line an 8x8-inch baking pan with parchment paper so the bars release easily later
- Create the Oat Base:
- In a large mixing bowl blend rolled oats with nut butter honey or maple syrup melted butter vanilla and salt Stir until fully combined and the oat mixture holds together when pressed
- Press and Chill:
- Firmly press the oat mixture into the lined baking pan Use the bottom of a glass or measuring cup to pack it tightly Refrigerate while you make the gummies to ensure the base sets up
- Make the Gummies:
- Pour fruit juice into a small saucepan Sprinkle gelatin evenly on top and let it rest for about five minutes to hydrate Warm gently over low heat whisking constantly until gelatin completely dissolves Stir in honey or agave syrup until smooth Pour into a parchment-lined small baking dish and chill in the refrigerator for 45 to 60 minutes until set and jiggly
- Cube the Gummies:
- Once set carefully lift out the gummy slab and use a sharp knife to cut into small even cubes
- Assemble the Bars:
- Remove the oat base from the refrigerator Scatter homemade gummy cubes evenly across the surface Add freeze-dried fruit and candy pressing lightly so everything sticks
- Set the Toppings:
- Place the pan back in the fridge for 10 to 15 more minutes This extra chill helps all the toppings stay in place when you cut the bars
- Slice and Serve:
- Use the parchment to lift out the whole slab Move to a cutting board and slice into 12 bars Clean your knife between cuts to keep edges tidy
 Pin it
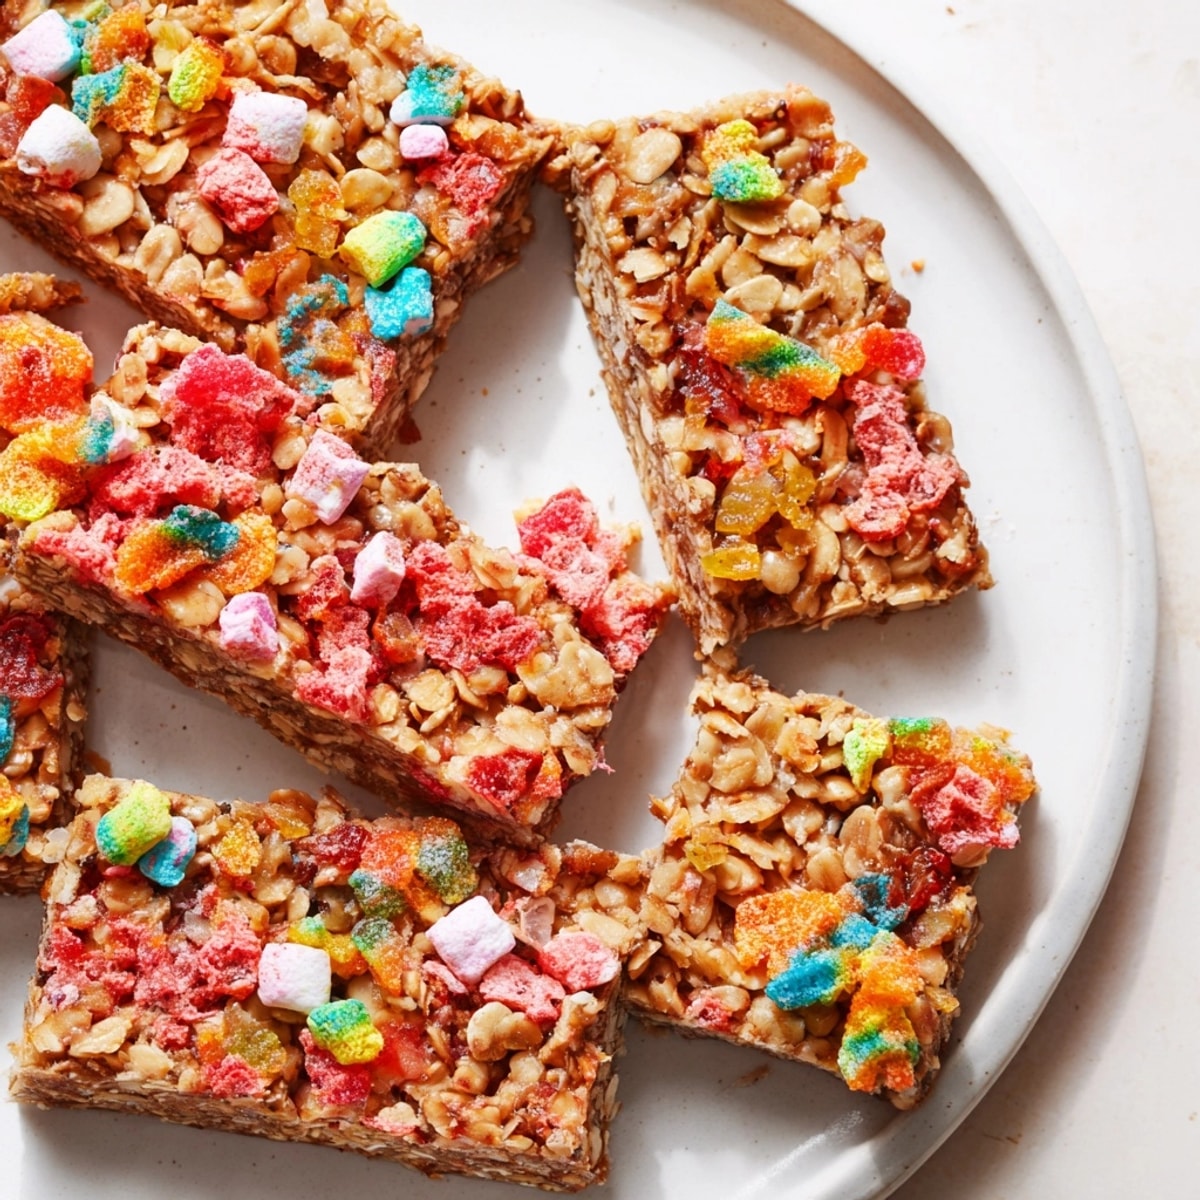
 Making the gummy cubes became a family showdown I loved experimenting with berry juice and citrus for rainbow layers. My favorite part is biting into a bar and discovering which fruity square lands first.
Storage Tips
Keep these snack bars in an airtight container in your fridge to preserve the chewiness of the gummies and crispness of the base Place parchment between layers to prevent sticking They keep well for about seven days For longer storage individually wrap bars and freeze for up to one month Thaw at room temperature
Ingredient Substitutions
Swap almond or peanut butter for sunflower seed butter to make nut-free bars Use plant butter in place of dairy butter for a dairy-free version For a vegan twist use agar powder and maple syrup in the gummies instead of gelatin and honey Some kids prefer milder juices like apple while adults rave about tart berry juice
Serving Suggestions
Cut the bars into fun shapes using cookie cutters for parties and lunchboxes Break the bars into bite-sized pieces and mix into yogurt bowls for a dessert spin For festive occasions dust with a teeny bit of powdered sugar just before serving
Cultural and Seasonal Adaptations
Inspired by classic granola bars and playful Japanese candy making these bars feel both nostalgic and new In summer try using watermelon or lime juice in your gummies for the ultimate refreshing twist In fall swirl in cinnamon or cardamom with the oats to remind everyone of cinnamon toast mornings
 Pin it
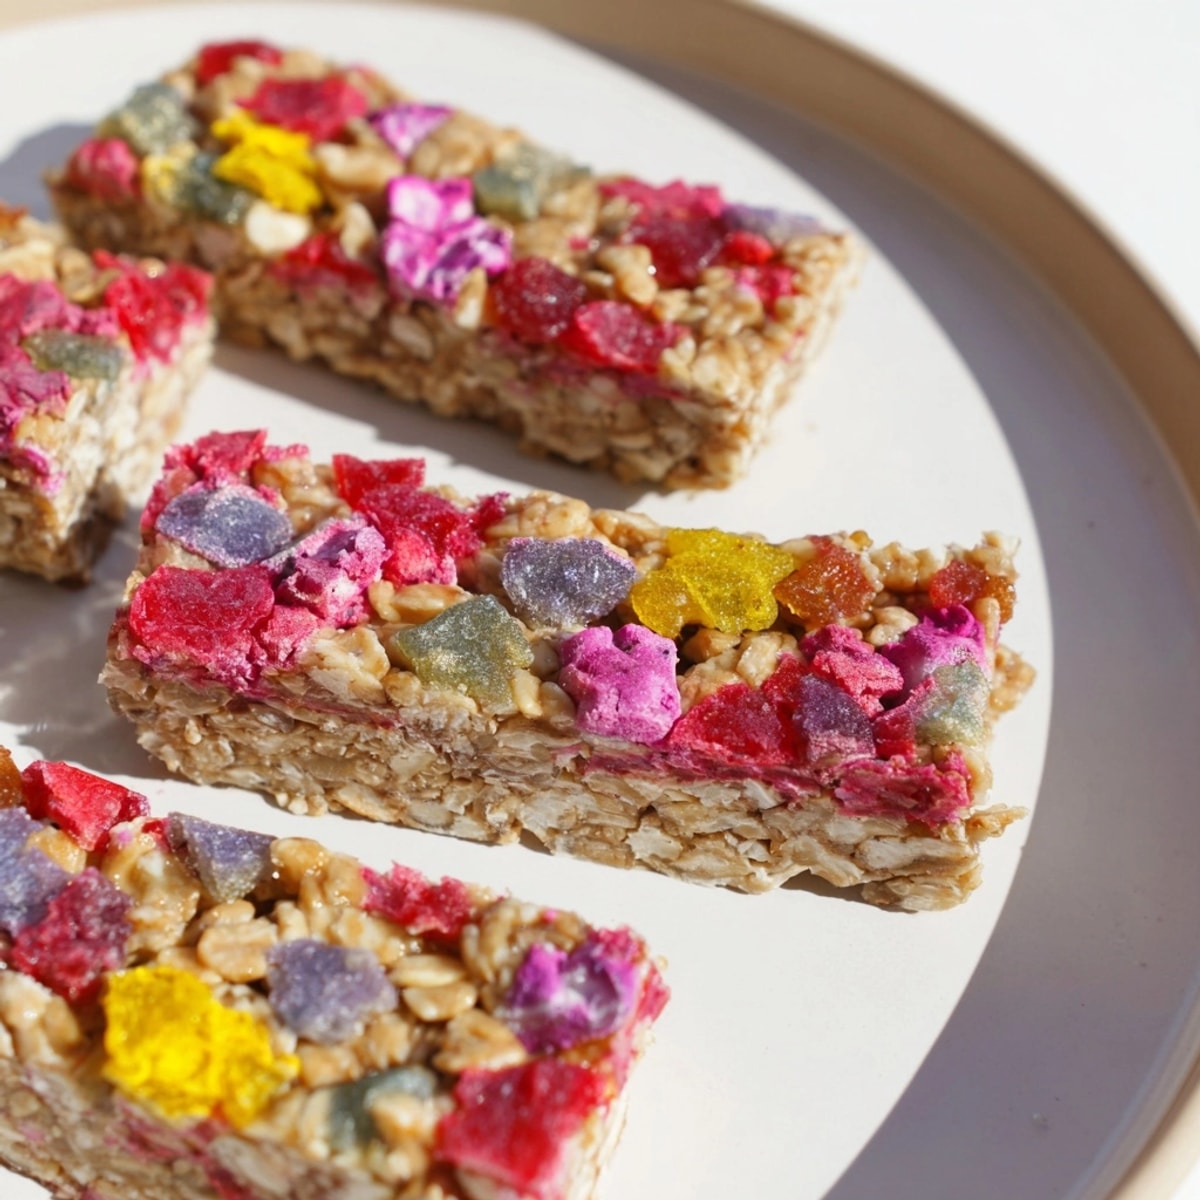
 DIY Snack Bars bring smiles and keep snack time interesting. Every batch feels like a celebration packed in a bar.
Recipe FAQs
- → What oats work best for the base?
-
Rolled oats give the ideal chewy texture, but quick oats can be used for a finer, softer bar.
- → Can I make these nut-free or dairy-free?
-
Swap almond butter for sunflower seed butter and use a dairy-free alternative for the butter as needed.
- → Do the gummies set firm in the bars?
-
Yes, letting the gelatin fully chill yields firm gummies that slice easily and hold shape atop the bars.
- → What juices create the most vibrant gummies?
-
Berry, apple, or orange juices offer bold colors and flavors for visually striking treats.
- → Are these suitable for vegans?
-
Gelatin in the gummies is not vegan, but agar-agar can be substituted for a plant-based option.
- → How can I add extra crunch?
-
Mix in chopped nuts or seeds with the oats, or choose crispy freeze-dried additions for the topping.
